


While I love my enameled cast iron Dutch ovens, when it comes to cooking tougher cuts of meat like pork shoulder, the slow cooker really does have the upper hand. The continuous gentle simmer (at around 200 degrees) is ideal for breaking down the connective tissue in a tough cut of meat and making it very tender. It’s hard to replicate that gentle simmer in a conventional oven, even on its lowest setting. The only problem with the slow cooker is that you are left with a lot of flavorful—but thin—liquid after slow-cooking.
In this recipe, I solve that problem by dividing the liquid (that remains after cooking) and using some to toss with the cooked shredded meat (to keep it moist and flavorful for storing and reheating) while reducing the rest on the stovetop into a thicker, more intensely flavored sauce. That thickened sauce can be mixed in or served on top, depending on whether you're planning to serve your pork in tacos or on rice (both are wonderful). Reducing the liquids is an extra step (and pot), but a relatively quick one with big benefits.
I recommend cooking the pork the day before you plan to serve it. Not only will it taste better the next day, but you won't be so pressed for time. The pork itself takes 8 hours to cook (on low in the slow cooker — high will toughen the meat). And you'll still need time after that. You’ll want to remove the pork from the liquid and shred it, and you’ll want to defat the liquid and reduce some of it to thicken. Along with taco topping-prep and/or rice-cooking, that can make for a late dinner. So I like to cool everything down (see safety note at the end of the recipe) and refrigerate overnight. (Once completely chilled, the pork can also be frozen in portions). Then I've got the makings for a great family dinner or party already mostly done.
It’s also worth noting that this recipe works perfectly well with a chuck roast if you’d prefer beef over pork.
Serves 6 to 8
- 2 ½ to 3 pound boneless pork shoulder
- Kosher salt
- Pepper
- 1 tablespoon vegetable or olive oil
- 1 tablespoon butter
- 1 ½ cups diced onion
- 1 tablespoon minced fresh garlic
- 1 tablespoon plus 1 teaspoon chili powder
- 2 teaspoons ground coriander
- 2 teaspoons ground cumin
- 1 teaspoon dried oregano
- 1 teaspoon smoked paprika
- 2 teaspoons finely chopped chipotle peppers in adobo sauce
- 2 tablespoons tomato paste
- 1 ½ cups crushed tomatoes
- 1 cup beer
- 1 ½ cups low-sodium chicken broth
- 6 to 8 springs cilantro, tied together
For serving:
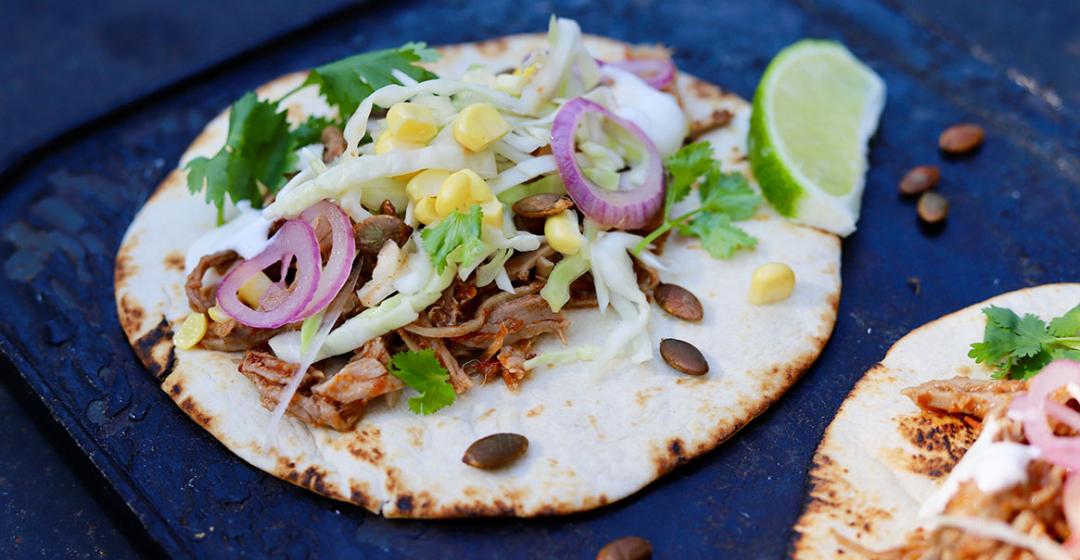
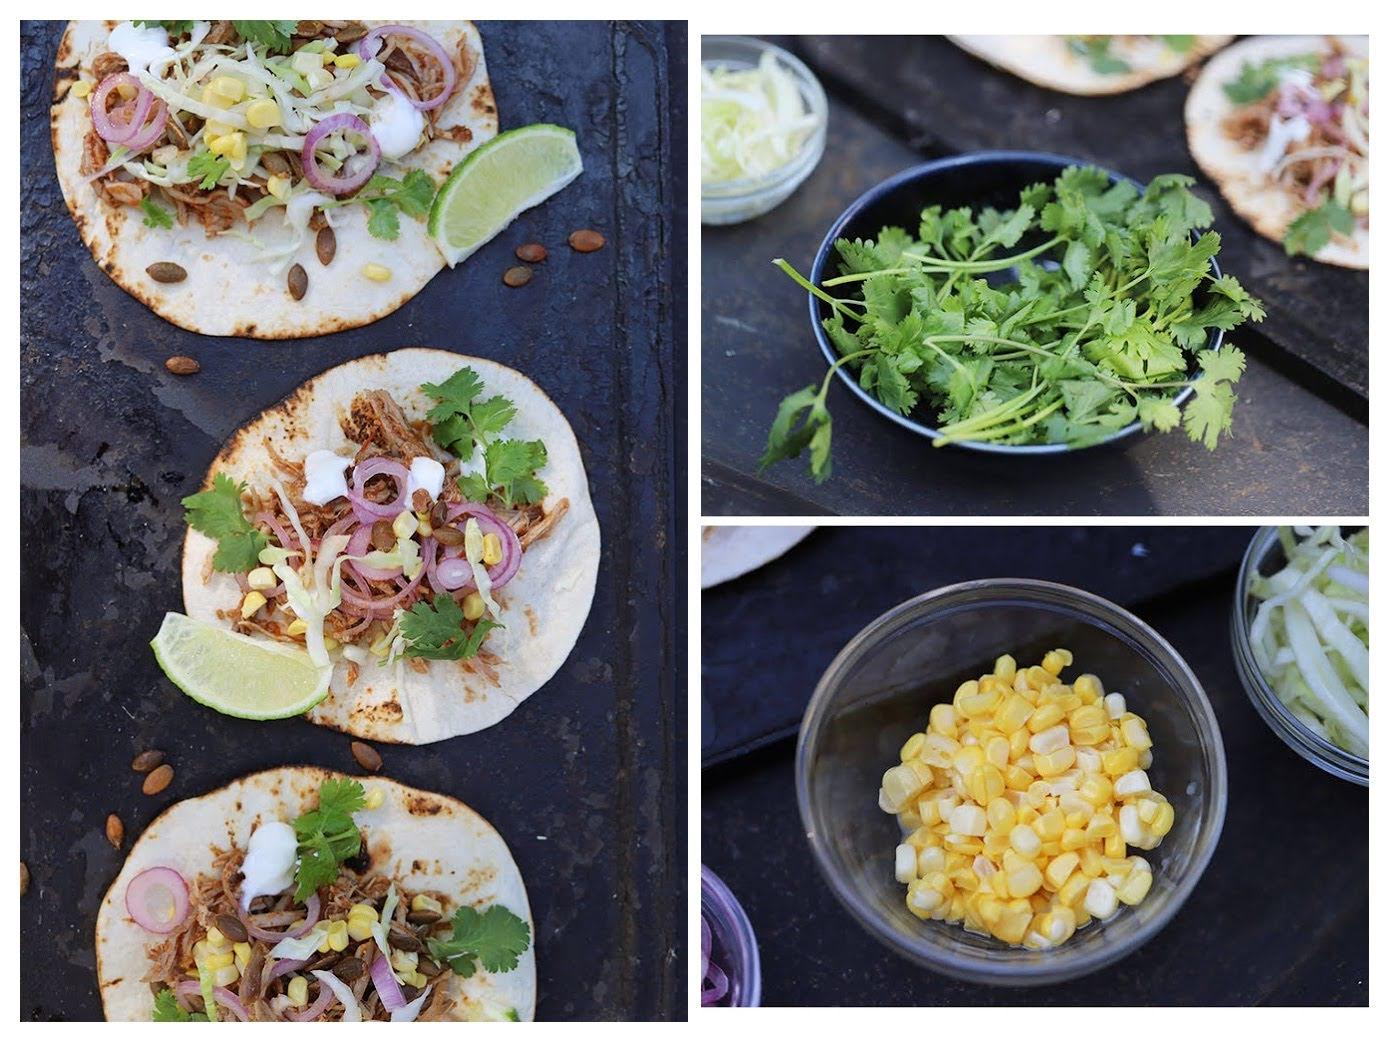
- Warm corn or flour tortillas
- Green Rice
- Limey Drizzling Sauce or Sour Cream
- Quick Limey Slaw
- Quick-Pickled Onion and Corn
- Grated cheddar cheese or crumbled queso fresco
- Diced or sliced avocado
- Toasted pepitas
- Cilantro leaves and sprigs
- Sliced scallions
- Lime wedges
In the early morning or a day ahead of serving:
1. Set up a slow cooker on your kitchen counter.
2. Season the pork all over with salt and pepper. Heat the vegetable oil in a medium Dutch oven over medium-high heat. When the oil is hot, add the pork. Sear the pork on all sides until brown by cooking it on each side for 4 to 5 minutes without disturbing, reducing the heat if necessary. Transfer the pork to the slow cooker and drain all but a couple teaspoons of fat from the Dutch oven.
3. Add the butter to the Dutch oven, stir to melt, and add the onions and 1/4 teaspoon salt. Reduce the heat to medium and cover the pot. Cook, stirring occasionally, until the onions are softened, translucent, and beginning to brown, 5 to 7 minutes.
4. Uncover, add the garlic and all the spices and stir, cooking for about 1 minute. Add the chipotle peppers and the tomato paste and stir again, spreading the paste around the pan with a silicone spatula; cook for about 30 seconds. Add the crushed tomatoes, the beer, and the chicken broth and stir to thoroughly combine the ingredients. Pour and scrape the mixture over the pork in the slow cooker. Cover and cook on low for 8 hours, or until the pork is very tender.
5. Remove the pork to a large, wide stainless steel bowl, leaving liquids behind. Let cool for a few minutes and use two forks to shred the pork thoroughly. Continue to toss every few minutes to let cool further if you plan to refrigerate overnight. (If you’re not refrigerating but plan to go straight to serving, transfer the pork to pot on the stovetop.)
6. Transfer the liquids from the slow cooker into one or two separate containers (ideally large glass measures or glass bowls). Stir frequently to bring the temperature down quickly.*
7. De-fat the cooking liquids. If you’re short on time, you can simply spoon off whatever oil rises to the top. With a little more time, you can refrigerate the (somewhat cooled) liquids until the fat rises to the surface and congeals. Then spoon off.
8. Measure out a portion of the liquids (about half or a little less) and pour over the shredded pork to moisten. Toss and stir well. If not serving tonight, refrigerate the pork (loosely covered). (When it is completely chilled, you can also freeze it in portions.)
9. Put the remaining liquids in a large saucepan, bring to a simmer, and reduce the volume by half to create a thickened and intensely flavored sauce. If not serving tonight, cool the thickened sauce down, stirring frequently, and refrigerate or freeze. If serving tonight, keep warm.
10. When ready to serve, reheat the pork gently. If you are planning to serve the pork over rice, stir as much of the reserved thickened sauce as you like (or all of it) into the pork to make a pork stew. If you are planning to serve the pork in tacos (and you don’t want them to be soggy), heat the thickened sauce separately from the pork and serve it as a condiment or topping for the tacos. (And/or stir just a small amount into the pork. Use your judgment!)
To serve:
11. Warm or toast tacos and/or make rice and keep it warm. Arrange your taco or rice toppings (ideally near the stove), keep the pork and sauce warm, and assemble tacos or rice bowls individually.
• Safety note: When cooling down large volumes of food, you want to stir and toss them frequently to encourage more rapid cooling and to avoid “hot spots” which bacteria might find friendly. You don’t want to put piping hot food into the refrigerator (which can also create hot spots by cooling the exterior too quickly and trapping heat), so starting the cool-down process with frequent stirring is best. Once you’ve brought the temperature down a bit, then you do want to go ahead and refrigerate in a timely manner (but again, only loosely covered at first so as not to trap residual heat) – leaving cooled-down food on the kitchen counter will invite bacteria, which thrive in temperatures below 140 degrees and above 40 degrees.