.A loaf of cinnamon and sugar-crusted monkey bread is especially welcome on chilly, blustery days, but truly it would be welcome no matter the weather conditions. Warm, inviting, sugary, and spicy, each slice or bite (more on that later) is as scrumptious as a home-baked, yeast-risen cinnamon bun but without the fussy and time-consuming shaping. As a bonus for smaller households, this recipe for Cinnamon Monkey Bread Loaf makes one loaf and not a whole tray of twelve or more buns.
Similar to classic cinnamon rolls, this bread starts with a small batch of soft, rich dough made with milk, butter and an egg (and of course flour, yeast, and a touch of sugar). If you have a smaller-sized stand mixer with a dough hook, feel free to let it do the kneading work for you. However, if there isn’t a stand mixer on your counter or you only have a larger one, no problem. The bread can be kneaded by hand. Sure, hand-kneading a sticky dough like this one can seem daunting at first but I’ve given you two different ways (see below) to go at it, and really it just takes some patience and faith in the process.
The assembly process is super casual, making it a fun project for kids to help with. After the dough completes its first rise, it’s cut into small, bite-sized pieces. Each nugget of dough is dipped into melted butter, coated with cinnamon-sugar goodness then popped into a greased loaf pan. (For the best bread to cinnamon-sugar ratio, keep the dough pieces small.) That’s all there is to it. Of course, the hard part is waiting for it to rise again, bake, and then cool a bit. But trust me, patience will be deliciously rewarded. (See tips on rising time below.)
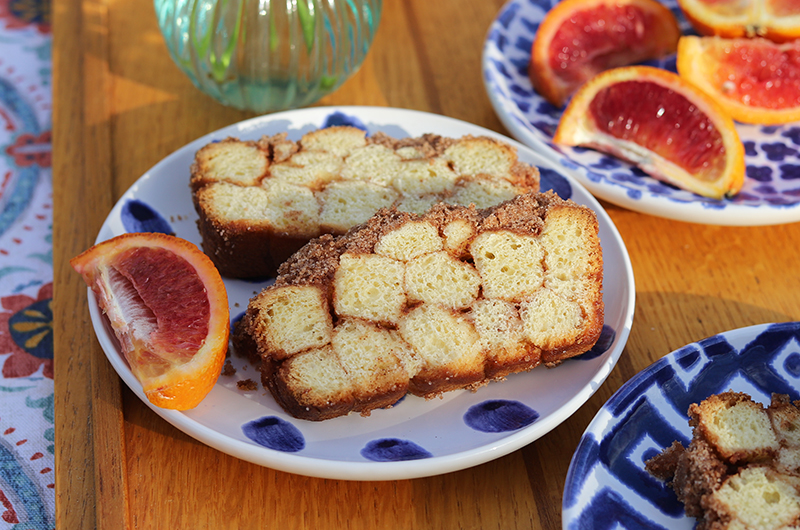
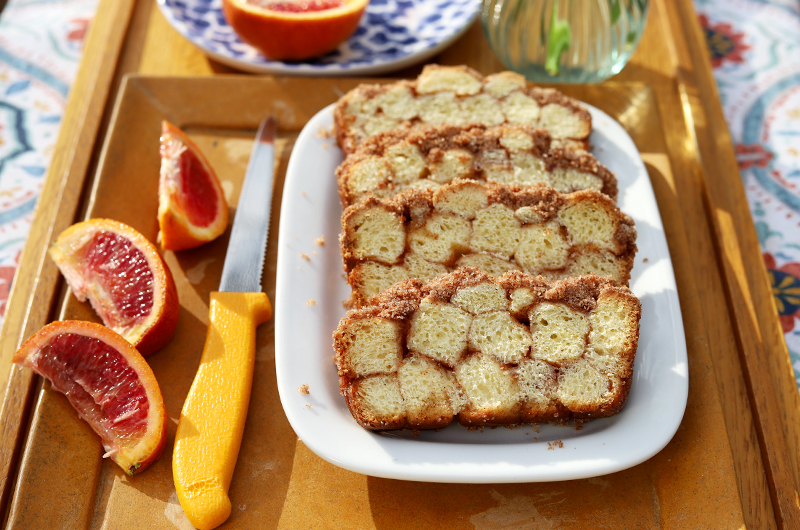
The classic loaf shape offers two serving options: traditional, toast-worthy slices or a more casual pull-apart style that offers bite-size, cinnamon sugar pieces. I will only add a warning that the latter option can prove dangerously addictive. It’s almost too easy to nibble away on this loaf until it all “suddenly” disappears. (I may or may not be speaking from experience.) This is our 51st edition of Baking Together. Be sure to check out all of our featured recipes in the Baking Together archive.
KITCHEN NOTES
Equipment
- Loaf pans vary in size and shape depending on the manufacturer. Some are straight-sided and others are more sloping; some are slightly larger. This recipe doesn’t require an exact size or shape. The baked results will differ slightly – taller and straighter versus wider and more rounded respectively – but the taste and texture won’t change a bit. For reference, I bake mine in an older model 6-cup Pyrex (8½ x 4½ x 2¾ inches) but an 8-cup loaf pan (10 x 5 x 3 inches) will work out just fine. Metal loaf pans will brown the rolls a tad more than Pyrex, so keep an eye on cooking times with these and don't overbake.
Two Kneading Techniques
- French Style: I like to use a French-style kneading technique. All you need is a clean, unfloured counter and a bench scraper tool. Scrape the super sticky dough onto an unfloured counter. With the bench scraper in your dominant hand, use it along with your opposite hand to lift the dough and slap it back onto the counter once or twice, stretching and folding the dough over on top of itself and giving it a quarter turn. Repeat the lifting, slapping, folding and turning process until the dough no longer sticks to the counter and passes the “windowpane” test (see below), about 15 minutes.
- American Style: With bench scraper in your dominant hand and using the heel of your opposite hand, push the top part of the dough away from you and fold that piece over the dough nearest to you and give the dough a quarter turn, using the bench scraper as needed. Repeat the pushing, folding and turning process until the dough no longer sticks to the counter and passes the “windowpane” test (see below), about 15 minutes.
Windowpane Test
- This is the best way to test to see if the dough has been kneaded enough. Use the bench scraper to cut off a piece of the dough. Holding it between the thumb, index and middle fingers on both hands, gently pull in opposite – north to south and east to west - directions. If the dough breaks apart, continue kneading and retest after a minute or so. If the dough stretches evenly and thinly until it holds an opaque film or “windowpane,” it’s ready to set aside to rise.
Rising Time
- The time it takes for your dough to rise will depend on the ambient temperature in your kitchen (or wherever you put the bowl), hence the wide timing windows lists in the directions. If the weather is chilly, or your winter thermostat, like ours, is set to just above freezing (not really but you’ll want to pack a sweater when you visit), your dough will likely take longer to rise. The best rising spots are free from drafts and in the warmest spot you can find.
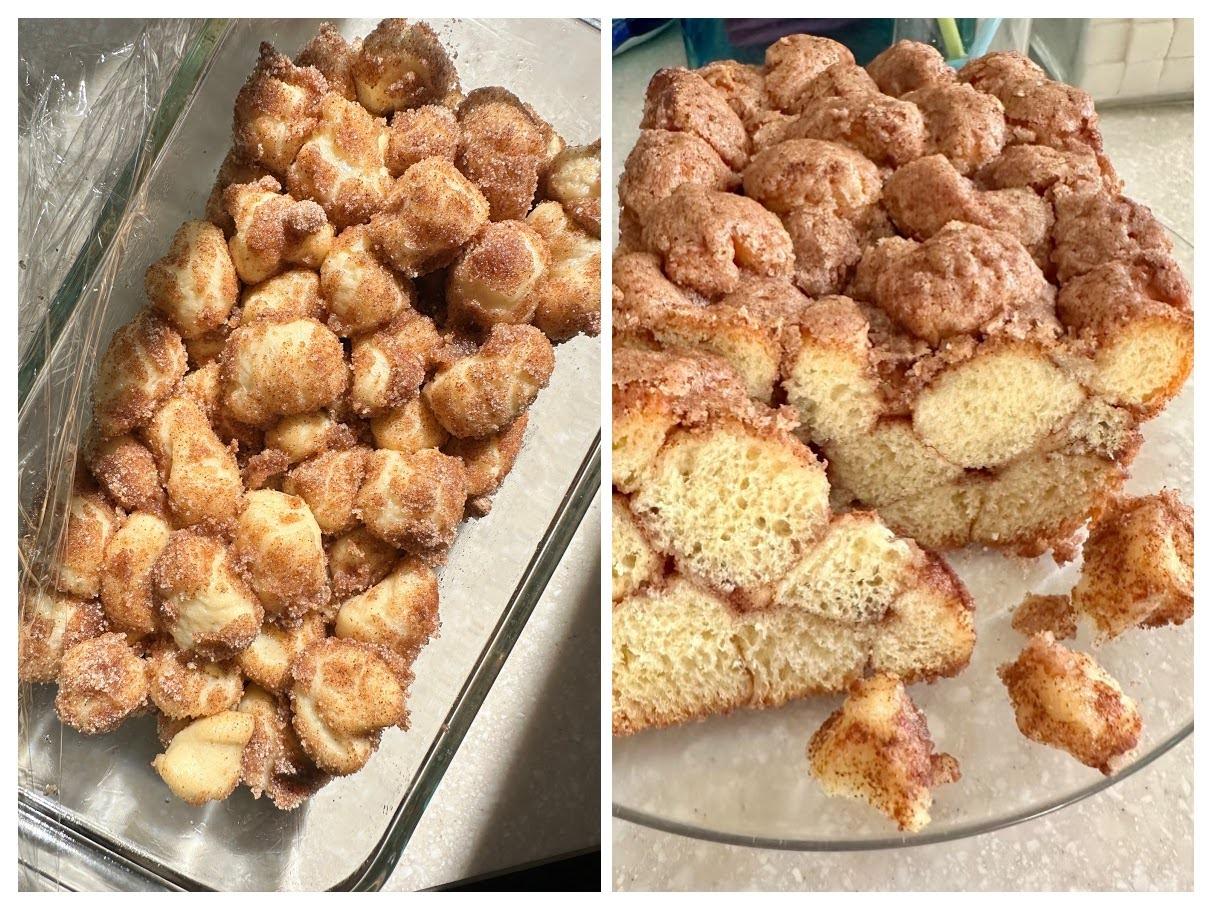
- One visual clue for the second rise: If you see that the cinnamon sugar coating on the bread pieces has begun to crack or separate a bit (see photo below), that indicates the dough is well-risen.
Serving
- The confectioners’ drizzle is optional. The bread is plenty sweet without it, but it does look pretty.
- The loaf can be pulled apart and eaten in pieces or it can be cooled until warm, cut with a serrated knife and served in slices. Leftovers are delicious at room temperature, or you can warm slices slightly in a toaster oven.


