


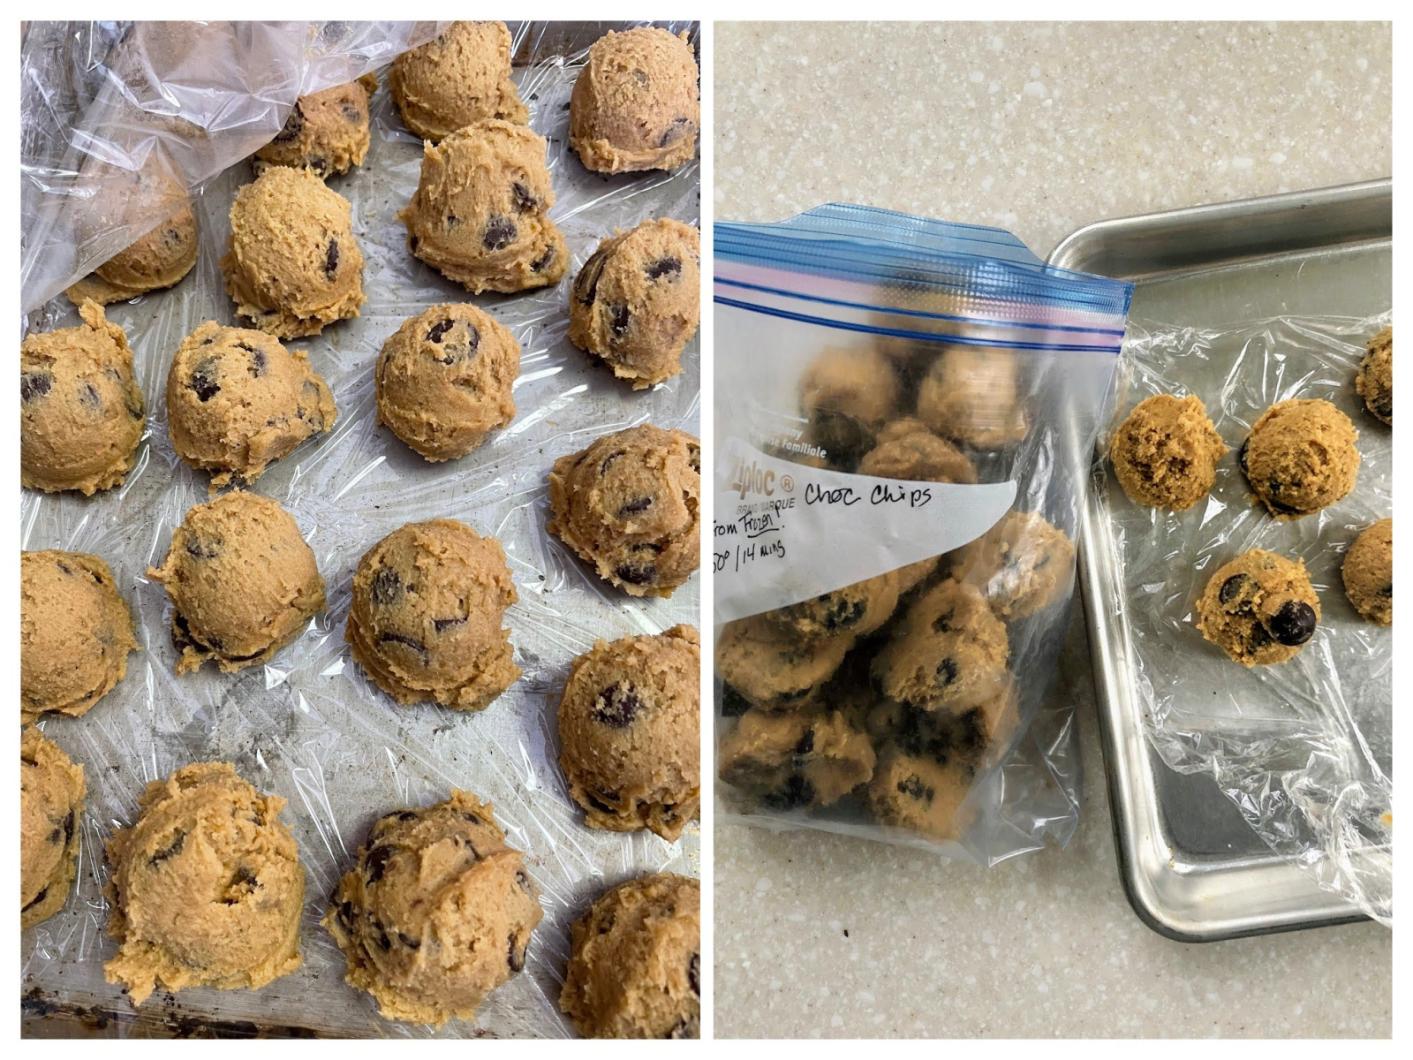
At my house, enjoying a freshly baked cookie or two in the afternoon has become a ritual over the past couple of years. Baking up only a few at a time rather than a whole batch is better for my portion control (read: waistline), and it turns out it makes for a thicker, chewier, yummier chocolate chip cookie. I mix the dough in advance (when I have spare time), scoop it, and freeze the single-cookie portions of dough. This way when the cookie mood strikes, all I need to do is heat my oven, pull out a few dough balls, and bake ‘em straight from the freezer. It’s a win-win situation that will brighten up even the dreariest day — and all at a moment’s notice.
I’ve been honing all my cookie recipes to keep up with demand, and my chocolate chip cookie recipe has gotten a few upgrades. I wanted my chocolate chip cookie to have a deeper, earthier flavor along with that perfectly chewy-tender-moist texture.
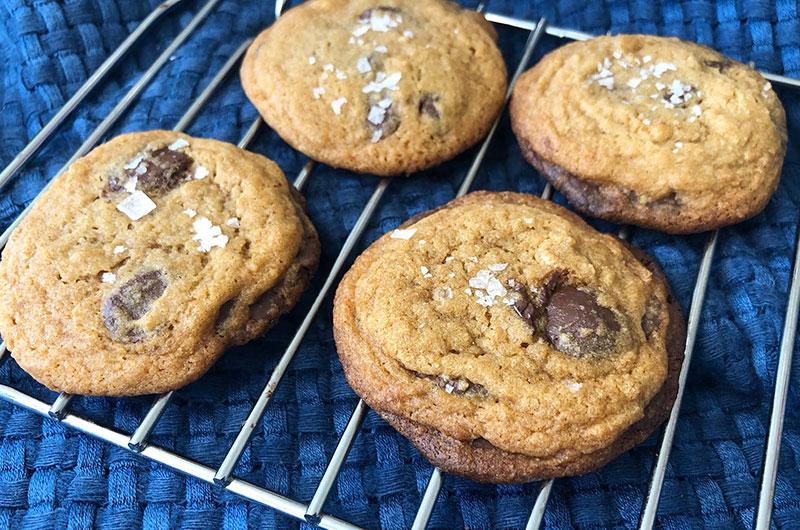
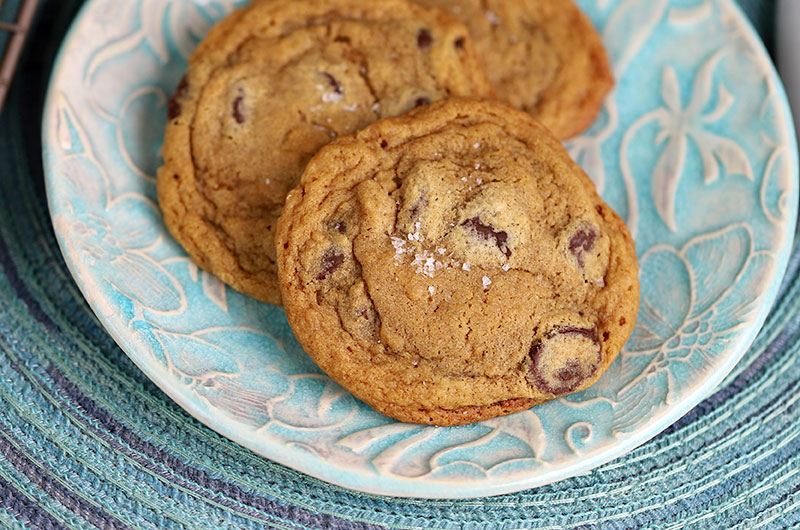
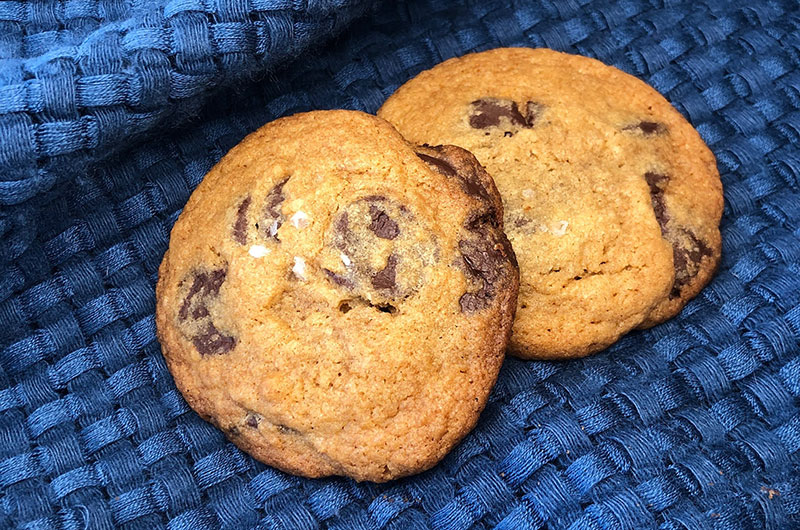
Putting my nerdy baker hat on, I did lots of tests (no one complained) until I was happy. I achieved the flavor I wanted with the addition of a bit of molasses and by using only dark brown sugar. I truly think the flavor in this Chewy Chocolate Chip Cookie is fabulous – buttery, with a deep-dark sweetness. As a bonus, the color of the cookie is an attractive mahogany (or maybe cherry!) brown.
To get the texture I wanted, I played around with cooking times and oven temperatures, but most importantly, I aimed for the right ratio of sugar to flour. In my tests, too much sugar made the baked results just a bit too crispy for my taste. Achieving that balance, along with the addition of the molasses, helped me reach my “Team Chewy” goals.
Lastly, after more tests with dough temperatures (fresh, refrigerated, and frozen), baking times, oven temperatures, and other factors, I happily arrived at a method that produces a thick and chewy cookie when baked straight out of the freezer with no thawing needed. Refrigerating the portioned dough before baking is a fine option when you want to bake off a larger or whole batch (see Kitchen Notes below). The resulting textures aren’t quite as consistent as they are from baking from frozen but the flavor is still yummy.
I also tried the cookie with a variety of mix-ins (including potato chips!), and I’ve given you those options below. As for the chocolate, bittersweet chocolate chips or chopped bittersweet chocolate are wonderful, but if you have a fancier chocolate or a different percentage chocolate (I’m liking Valrhona Dulcey these days) you can definitely use it.
A sprinkling of sea salt is my ideal finish to these cookies, but you can skip if you like.
I am looking forward to hearing how you’ve made this recipe your own so please share in the comments section so we can all learn from each other.
This is our 23rd installment of Baking Together! Check out all the previous columns and recipes and let us know how everything goes.
Kitchen Notes
Flavor swap
Feel free to swap different chocolate for the bittersweet. I’m liking Valrhona Dulcey these days.
Mix-ins
The yield will change depending on how many mix-ins you use and how much of each you use. Reduce the amount of chocolate to about 1/2 cup (3 ounces) and stir in a handful of two or three of the following:
- Hearty potato chips (I like Lays Wavy)
- Lightly salted peanuts
- Salted pretzels
- Dried cherries or apricots
The Scooper
I use a 4 teaspoon mini scooper – the Oxo Medium Cookie Scoop is an easy mail order or kitchen-store option. No scooper? Using a tablespoon measure, scoop up a slightly round amount of dough and gently roll between your palms to form a ball.
Lining the Sheet Pan
When baking these cookies, I prefer to line my sheet pans with parchment paper so the cookies don’t spread too much. That said, silicone liners are a fine substitute, though you can expect your cookies to be just a touch flatter.
Refrigerated – not frozen - dough
If you are looking to bake off a larger batch of cookies but you still want that same chewy texture, refrigerate the dough well before baking. Scoop the dough and arrange the mounds close together on a plastic wrap-lined large plate or sheet pan. Cover with plastic and refrigerate until very firm, 4 hours or up to 2 days. Proceed with the recipe directions, baking the dough balls straight from the refrigerator. Cooking time may be 1 to 3 minutes shorter.