


This past July I was touring Island Grown Initiative’s greenhouse at Thimble Farm in Vineyard Haven when I came face to face with literally thousands of garlic bulbs freshly harvested and laid out to dry. Only the week before I’d been giving myself a high five, feeling so pleased after harvesting my first real crop of garlic – a mere dozen heads. I felt silly but had to laugh: garlic truly is easy to grow. If you had the room, why wouldn’t you grow a ton of it?
Because locally grown garlic, especially in the first few weeks after harvesting, is truly delicious – juicier, less bitter, and more nuanced than anything you will buy in the grocery store. (And by the way, much of our grocery store garlic comes from China.) It’s a treat to cook with it. And it will still be delicious even in the middle of the winter, if you can manage to keep some that long.
Fortunately, you don’t have to grow your own. Many farms on the Island, including Morning Glory in Edgartown, Ghost Island in West Tisbury, and North Tabor in Chilmark, grow and sell their own garlic. Be sure to stock up on it when you see it, and store it in a slightly cool, dark place.
If you do want to clear a spot in your garden for garlic, fall is the time to plant. It seems counterintuitive to start something as the weather’s getting cooler, but garlic needs a period of cold in order to eventually form bulbs. Getting the cloves in the ground in October or early November gives them enough time to send down roots before the ground really freezes on the Vineyard. Often they’ll send some green shoots up too. This will make you fret and think that freezing will kill the shoots (which are actually leaves). It does not. Those shoots go dormant, hang out all winter, and then start growing again with longer daylight.
By the time early summer rolls around, garlic (if you’ve planted the hardneck type) will send up one long elegant stem with a tight flower bud on the end of it. This is called a scape. When the scape curls around on itself, it’s time to cut it off and send all the plant’s energy back down to the bulb forming in the ground. Keep your scapes for dicing and using in sautés or for puréeing and using in pestos and green sauces. They keep for weeks in the fridge in a zip-top bag.
Come July, the lower leaves of each garlic plant will start to brown. Once two to three sets of leaves are brown, you’ll know it’s about time to harvest. Pulling up those beautiful bulbs, even if they are on the small side, is pure joy.

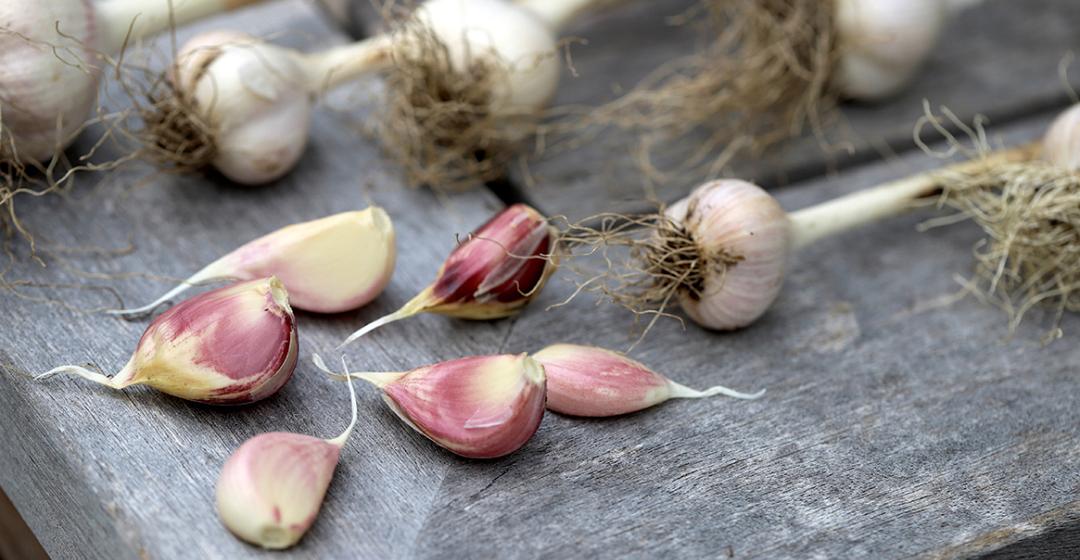
Which variety to grow? Narrow your choices by concentrating on hardneck varieties for your first crop. They generally grow better than softneck garlic in our climate. While softneck varieties yield more cloves, hardneck varieties have bigger cloves with excellent flavor – and often a pretty reddish-pink coloring. I grew a variety called Music last year, because it was recommended for flavor and widely available in Island nurseries. I was not disappointed. Some of my bulbs could have been bigger if I had planted in better soil – this year I will fold in compost before planting – but they cured quickly and were delicious. I understand that Spanish Roja and Russian Red are also tasty hardneck varieties.
To plant garlic in a prepared garden bed, all you need to do is poke a hole about four to five inches deep every six inches or so and snuggle a clove (pointy end up) into the hole. Fill in the soil and top with a good layer of mulch (straw or composted leaves). Water generously after planting and that’s it!
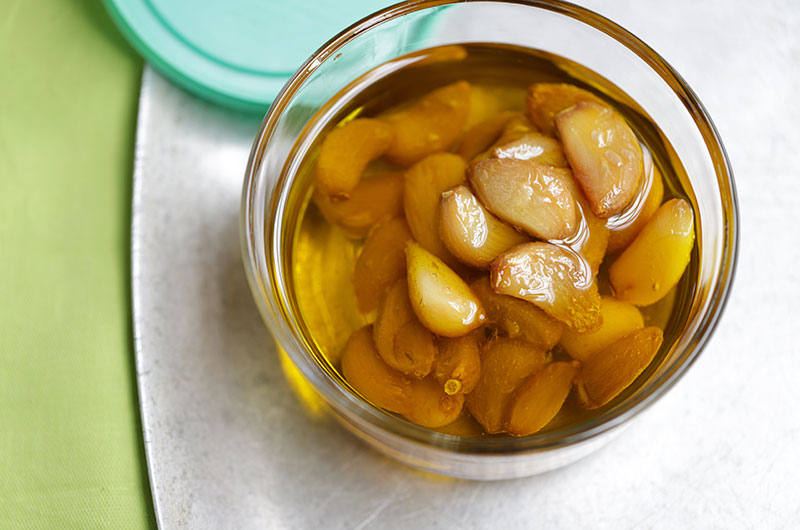
I’m guessing that you’ll have no trouble knowing what to do with your garlic in the kitchen. But just for fun, I thought I’d revisit roasted garlic, mostly because I have a method I prefer to use when I want to do a lot at once. It’s a technique that’s halfway between straight-up roasted garlic (where you cut the top of the bulb off, rub with oil, wrap in foil, and bake for about an hour) and something called garlic confit (where you cook the cloves, already peeled, in oil at a low temperature).

What I’ve done is adopt the garlic confit oven method and raised the oven temperature a bit for faster cooking. (This does yield a slightly stronger tasting garlic – closer to roasted garlic – than confit, since the garlic browns somewhat while cooking in the oil at 300 degrees.) But I’m still getting the best perk of confit: tender individual cloves that don’t turn to mush as roasted garlic can, and that are ultimately more versatile because you can store them in the fridge in the oil in which they were cooked for a week to ten days and use them as toppings or ingredients.
And it only takes me ten minutes to peel the cloves up front. I use a method I learned from a cook on the line at a restaurant I worked at long ago: I give the garlic clove a serious twist to loosen the skin. (For this recipe, you don’t want to cut the root end off.)

I usually make about forty cloves at a time, but really you could do any amount, as long as you arrange them comfortably in one layer in a shallow baking dish and cover them completely with extra-virgin olive oil.
A nice bonus with this method is all that delicious garlic oil leftover when you’re done. I use both the garlic and the oil in a dressing for vegetables like broccoli raab (Broccoli Raab with Roasted Garlic and Sundried Tomatoes), broccoli, cauliflower, beans, Brussels sprouts, or sweet potatoes. I combine them with white beans to make a quick and super tasty dip (White Bean and Roasted Garlic Dip with Homemade Pita Crisps). I use the cloves in all kinds of pastas, in focaccia, on pizza, and as a crostini or toast topping. There’s really no (savory) limit to what you can do with these goodies. Just don’t add them to dessert.