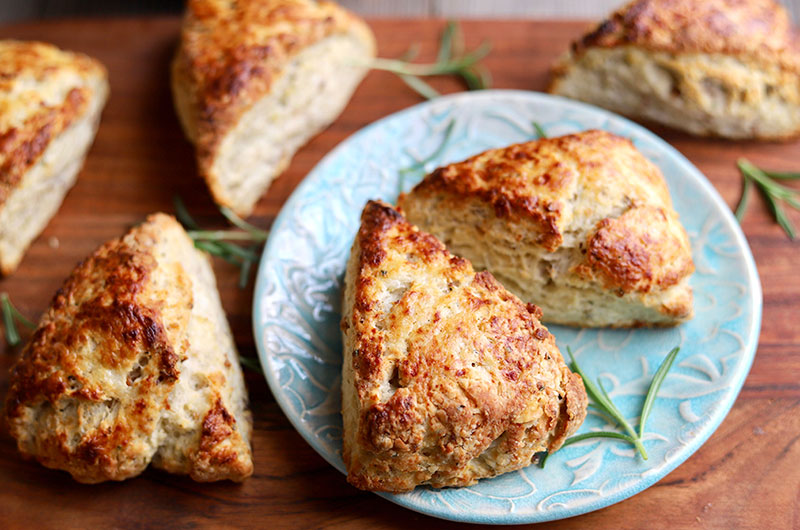


Hello friends! I’m so excited to be baking together with you again here at Cook the Vineyard. For this installment of Baking Together, I’ve gone over to the savory side to highlight that baking isn’t always synonymous with dessert. This month, it’s a savory scone — A Lemon Rosemary Parmesan Scone, in fact (with toasted walnuts!). As I hibernate through these winter months, I like to bake up something savory to serve alongside a simple dinner of roast chicken or hearty stew. A refreshing change from the usual starch (noodles, potatoes, rice, etc.), these tender, flaky scones are loaded with the warm and comforting flavors.
Even better, these guys serve double-duty as they also make a delicious breakfast treat. Fresh from the oven, they are stand-alone yum. If you have a few leftover from last night’s dinner, I suggest you split them crosswise, warm in the toaster oven (a griddle or skillet works too) and smear with some salted butter or cream cheese. I can’t imagine a better way to start a winter day on the Vineyard or anywhere you find yourself.
For those bakers who like to keep ahead of the game, check out the make-ahead tips that I’ve included both below and in the recipe. For the rest of us, I have good news: The scones can be baked, cooled and frozen for up to one month before reheating and serving. I’ve also added a few tips both below and in the recipe for those of you who want to dig a little deeper into the hows and whys of scone baking.
But let’s not forget about dessert altogether. If you’re in the mood for a taste of something from the sweet side, check out our other Baking Together recipes: One-Bowl Vanilla Cupcakes with Milk Chocolate Frosting, Pumpkin Cream Cheese Tart with Crushed Pretzel Crust, and Butter Pecan Slice-and-Bake cookies.
Be sure to leave us a note in the comments section below the recipe after you’ve made it. Keep in touch, stay warm & bake on!
Tips for Scone-Baking Success
• You’ll notice that baking recipes that call for butter cut into flour will always give a visual doneness test with the approximate size for the butter. This isn’t random, as the butter size will directly affect the finished results. For a flaky, layered texture (like these scones), the recipe will call for butter cut into the flour until pea-sized. For a more tender, fluffy texture, the butter is worked into the flour until the mixture resembles coarse cornmeal.
• For the highest rise and lightest texture, make sure the butter and buttermilk are cold and handle the dough as little as possible. Make clean, up-and-down cuts into your scone disc when cutting the disc into eight pieces, because dragging the knife through the dough can pinch together the layers and inhibit the scone from rising quite as much.
• The sides of these scones develop a crunchy crust during baking. If you prefer softer scones, arrange the unbaked scones on the cookie sheet so they’re almost touching. When they come out of the oven, cover them loosely with a clean dishtowel.

Make-Ahead and Reheating Tips
• Cut the butter into the dry ingredients and add the cheese, zest and nuts. Cover and refrigerate along with the additional measured buttermilk up to 1 day ahead. When ready to serve, proceed with the recipe while the oven heats.
• If you’re not serving the biscuits immediately, cover the baked and cooled biscuits and stow at room temperature for up to 2 days. They can also be stowed in an airtight container and frozen up to one month. Pull out one or more scones and arrange on a lined cookie sheet while the oven heats to 300°F oven. Bake until warmed through, 15 to 20 minutes. They can also be split in half (crosswise, please) and toasted in a toaster oven or on a lightly greased griddle or skillet. Serve warm and with plenty of butter!